Registering a GitHub Blog with Webmaster Tools and Optimizing SEO

Introduction
After running the blog essentially as part of the deep web for over a year, I registered it with search engines early this year. The surprise was that platforms like Tistory or Naver Blog get indexed and appear in search results automatically without any separate application, whereas for a personal site like a GitHub blog, that first step has to be done manually.
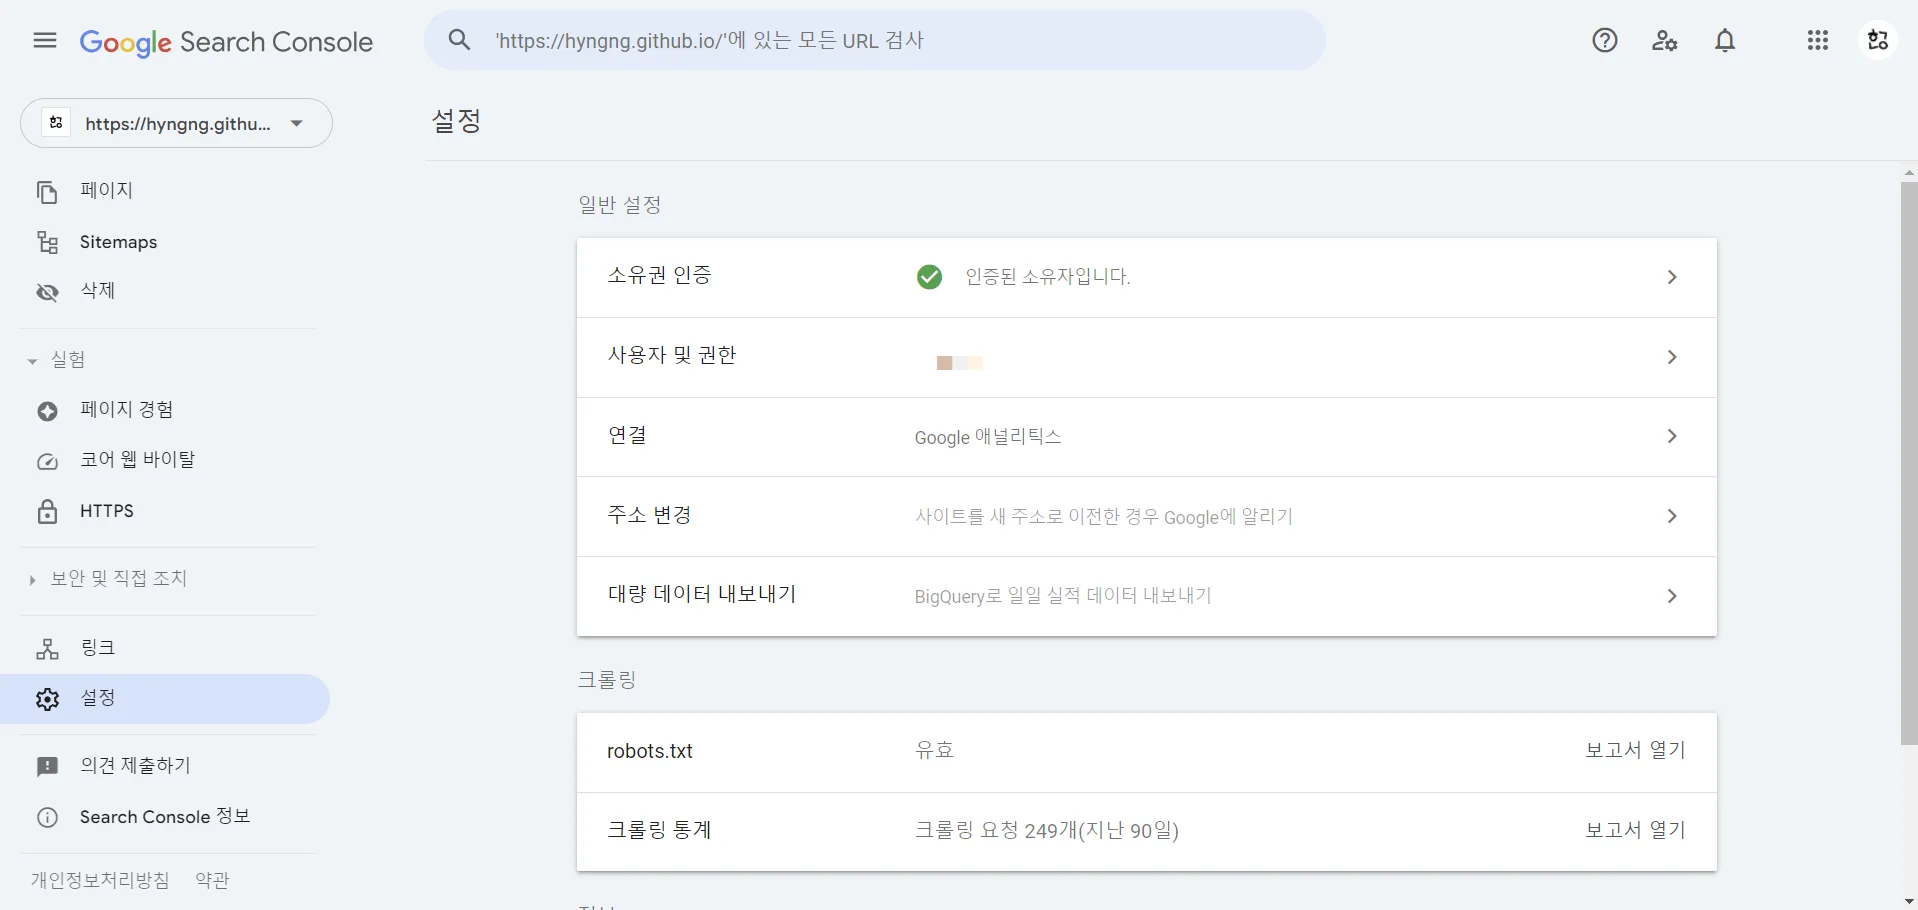 A leading webmaster tool: Google Search Console
I registered with four platforms in order of Korean portal market share: Google Search Console, Naver Search Advisor, Daum Webmaster Tools, and Bing Webmaster Tools. An oddity: the time from domain submission to actual search result exposure varied wildly per platform. I applied around March 20 — Daum took about a day, Google about two weeks, and Naver and Bing about three weeks each.
Updated 2024-05-25!
I also registered with the Pinterest Business Hub. Once site ownership is verified, it collects images via RSS and creates pins.
As a result, site:hyngng.github.io now surfaces the blog on all platforms. If you want to register a personal site with webmaster tools like I did, the following may help.
Google Search Console
- HTML-tag-based site ownership verification in a GitHub blog works fine in
_includes/head.html, but thejekyll-seo-tagplugin supports this feature, so editing thewebmaster_verificationsvalue in_config.ymlmay be more convenient.
Naver Search Advisor
- Naver Search Advisor doesn’t accept Atom-type feeds, so you must create and submit a separate RSS feed. A sample file is on my GitHub, and the live example on my blog is here.
- It supports IndexNow, so crawl requests can be automated.
Daum Webmaster Tools
- The search registration site and webmaster tools are separate. Initial site registration happens at the registration site; after registration, sitemaps and feeds are submitted separately via webmaster tools.
- Even after a site is registered in search results, new websites don’t get their favicons displayed. I inquired with the Help Center but was told “favicon collection criteria cannot be disclosed per policy.” Frustrating, but there’s nothing an individual can do.
Bing Webmaster Tools
- If your site is properly registered with Google Search Console, you can link it to Bing and use it as-is. Ownership verification is skipped, and submitted sitemaps/feeds sync automatically.
- Bing Webmaster Tools also has a favicon display issue, but contacting support resolves it quickly — my favicon appeared normally within two days of inquiring.
- Like Naver, it supports IndexNow.
SEO Optimization
I first encountered the concept while applying for search registration. SEO (Search Engine Optimization) is the process of improving website or page quality to rank better and higher in search engines — a concept so significant that both Naver and Google publish official guides.
My focus wasn’t so much on chasing top rankings as on fixing SEO warnings that several webmaster tools flagged after I submitted the blog. Here’s a summary of the specific issues and how I resolved them.
Image Optimization via WebP
I measured page performance using Google’s PageSpeed Insights, and the mobile score was quite poor. The report listed many recommendations, including reducing image payload — so I tackled that.
I often post occasional drawings and photos as blog posts. These images average 4000x3000 pixels in .png or .jpg format, weighing 200 KB–1 MB for drawings and 1–3 MB for photos. Other post images followed similar specs, so they weren’t lightweight either. Checking other sites, many optimize to under 100 KB, so I applied the following to reach a comparable level:
- Reduced image dimensions to 1/4. For 4000x3000, resized to 2000x1500.
- Lossy-compressed
.gif,.jpg, and.pngfiles and encoded them as.webp.
 Images before and after the size reduction process.
The left is the original; the right is the downscaled webp conversion. No fatal quality difference, yet file sizes dropped from 1.79 MB to 83.7 KB — roughly a 20× reduction. Not every file shows that dramatic a gap, but most yielded clear savings, so I applied similar treatment to images in other posts.
Since using lower-quality images is still a bit regrettable, for drawings and photos I added a note at the end of posts like “Original images available on my GitHub!” so interested readers can access the full-resolution versions.
Fixing Duplicate H1 Tags
Flagged by Naver and Bing Webmaster Tools. Per the Web Content Accessibility Guidelines (WCAG), a web page should contain at most one h1 tag, but my blog had both the site title in the left sidebar and the post title rendered as <h1>.
{% if page.layout != 'home' %}
  <h2 class="site-title">
    <a href="{{ '/' | relative_url }}">{{ site.title }}</a>
  </h2>
{% else %}
  <h1 class="site-title">
    <a href="{{ '/' | relative_url }}">{{ site.title }}</a>
  </h1>
{% endif %}
Here’s the fix. Lowering the site title’s header tag seemed better than demoting the post title, so I modified the code rendering site.title. On the root URL it stays h1; on all other URLs it becomes h2.
Chrome DevTools confirms: h1 on the blog home, h2 on the current page. I resubmitted the corrected URLs, and two days later Naver and Bing Webmaster Tools’ site diagnostics confirmed the errors were resolved.
Auto-Generating Meta Description
Updated 2024-05-28!
I no longer use this method. The practical fix is in the update below dated 2024-09-25!
Flagged by Bing Webmaster Tools. Many of my posts used the “Introduction” opening section, which got duplicated as the description across multiple pages. I added individual descriptions in front matter, but writing them around 20 characters triggered a “Meta description too long or too short” error.
Recommended description length is 25–160 characters. Manually crafting 25+ characters per page is too tedious, so I wrote code to auto-generate descriptions.
<html lang="{{ page.lang | default: site.alt_lang | default: site.lang }}" {{ prefer_mode }}>
  {% include head.html post_content = content %}
  ...
{% if page.layout == "post" %}
{% assign description = include.post_content | content_filter | strip_html | truncate: 100 %}
{% else %}
{% assign description = site.description %}
{% endif %}
<meta name="description" content="{{ description }}" />
<meta property="og:description" content="{{ description }}" />
<meta property="twitter:description" content="{{ description }}" />
{{ seo_tags }}Implementation was a bit tricky. Meta tags including description are generated en masse by the jekyll-seo-tag plugin first, so I overrode the description within the generated seo_tag. During implementation, _includes files like head.html couldn’t access page content, so I worked around it by sourcing content from _layouts/default.html.
require 'nokogiri'

module Jekyll
  module ContentFilter
    def content_filter(input)
      doc = Nokogiri::HTML(input)
      content_div = doc.css('div.content').first
      output = content_div&.text&.strip || ''
      output.gsub(/\s+/, ' ').strip.gsub(/(들어가며|starting with)\s+/i, '')
    end
  end
end

Liquid::Template.register_filter(Jekyll::ContentFilter)
The content passes through a custom Ruby plugin content_filter, which strips unnecessary info like titles, dates, authors, and the “Introduction” opening. It leverages the fact that post bodies land inside <div class="content"></div>. I’d implemented similar code before but wasn’t fully comfortable yet, so I consulted GPT for this part.
Updated 2024-09-25!
The above is actually a band-aid fix. The newly generated description duplicated the one in {{ seo_tags }}, resulting in two <meta name="description" ... > tags on the page. I wanted a more fundamental solution, so I located where the jekyll-seo-tag plugin generates the meta description and modified it as follows:
{% if page.layout == 'post' %}
  {% if page.content %}
    {% assign description = page.content | strip_html | strip_newlines | truncate: 150 %}
    <meta name="description" content="{{ description }}" />
    <meta property="og:description" content="{{ description }}" />
    <meta property="twitter:description" content="{{ description }}" />
  {% endif %}
{% else %}
  {% if seo_tag.description %}
    <meta name="description" content="{{ seo_tag.description }}" />
    <meta property="og:description" content="{{ seo_tag.description }}" />
    <meta property="twitter:description" content="{{ seo_tag.description }}" />
  {% endif %}
{% endif %}
GIT
remote: https://github.com/hyngng/jekyll-seo-tag.git
revision: 8584ad6bd6788036ad17a35659c87737b11d02c6
branch: master
specs:
jekyll-seo-tag (2.8.0)
jekyll (>= 3.8, < 5.0)gem 'jekyll-seo-tag', git: 'https://github.com/hyngng/jekyll-seo-tag.git', branch: 'master'The revised code pulls the description from _config.yml based on page layout, or generates it from post content. I forked this GitHub project to a personal repository, modified it separately, and load it in the Gemfile as shown — the cleanest solution I could find.
Closing
I rushed through search registration and SEO optimization, but it’s hard to say how effective it’ll be. Still, my blog leans more toward personal record-keeping than promotion or producing info for others, so I’ll manage search exposure out of technical curiosity without obsessing over it.